
Make your own 3D textures
A texture is a picture or pattern wrapped around a 3D object. Built-in textures and the Texture studio are included in Learner.
# language: en
clear3D("#18273d")
box3D("crate", 2, 2, 2)
texture3D("crate", "wood", 1)
turn3D("crate", 25)
camera3D(3, 2, 5)
lookAt3D(0, 0, 0)
draw3D()
Choose none, checker, brick, wood, stone, grass, sand, tile or metal. These names stay the same in Dutch source. The scale is repetitions per local world unit, greater than 0 and at most 32. A larger number makes the pattern repeat more often.
Paint a tile
- Open a
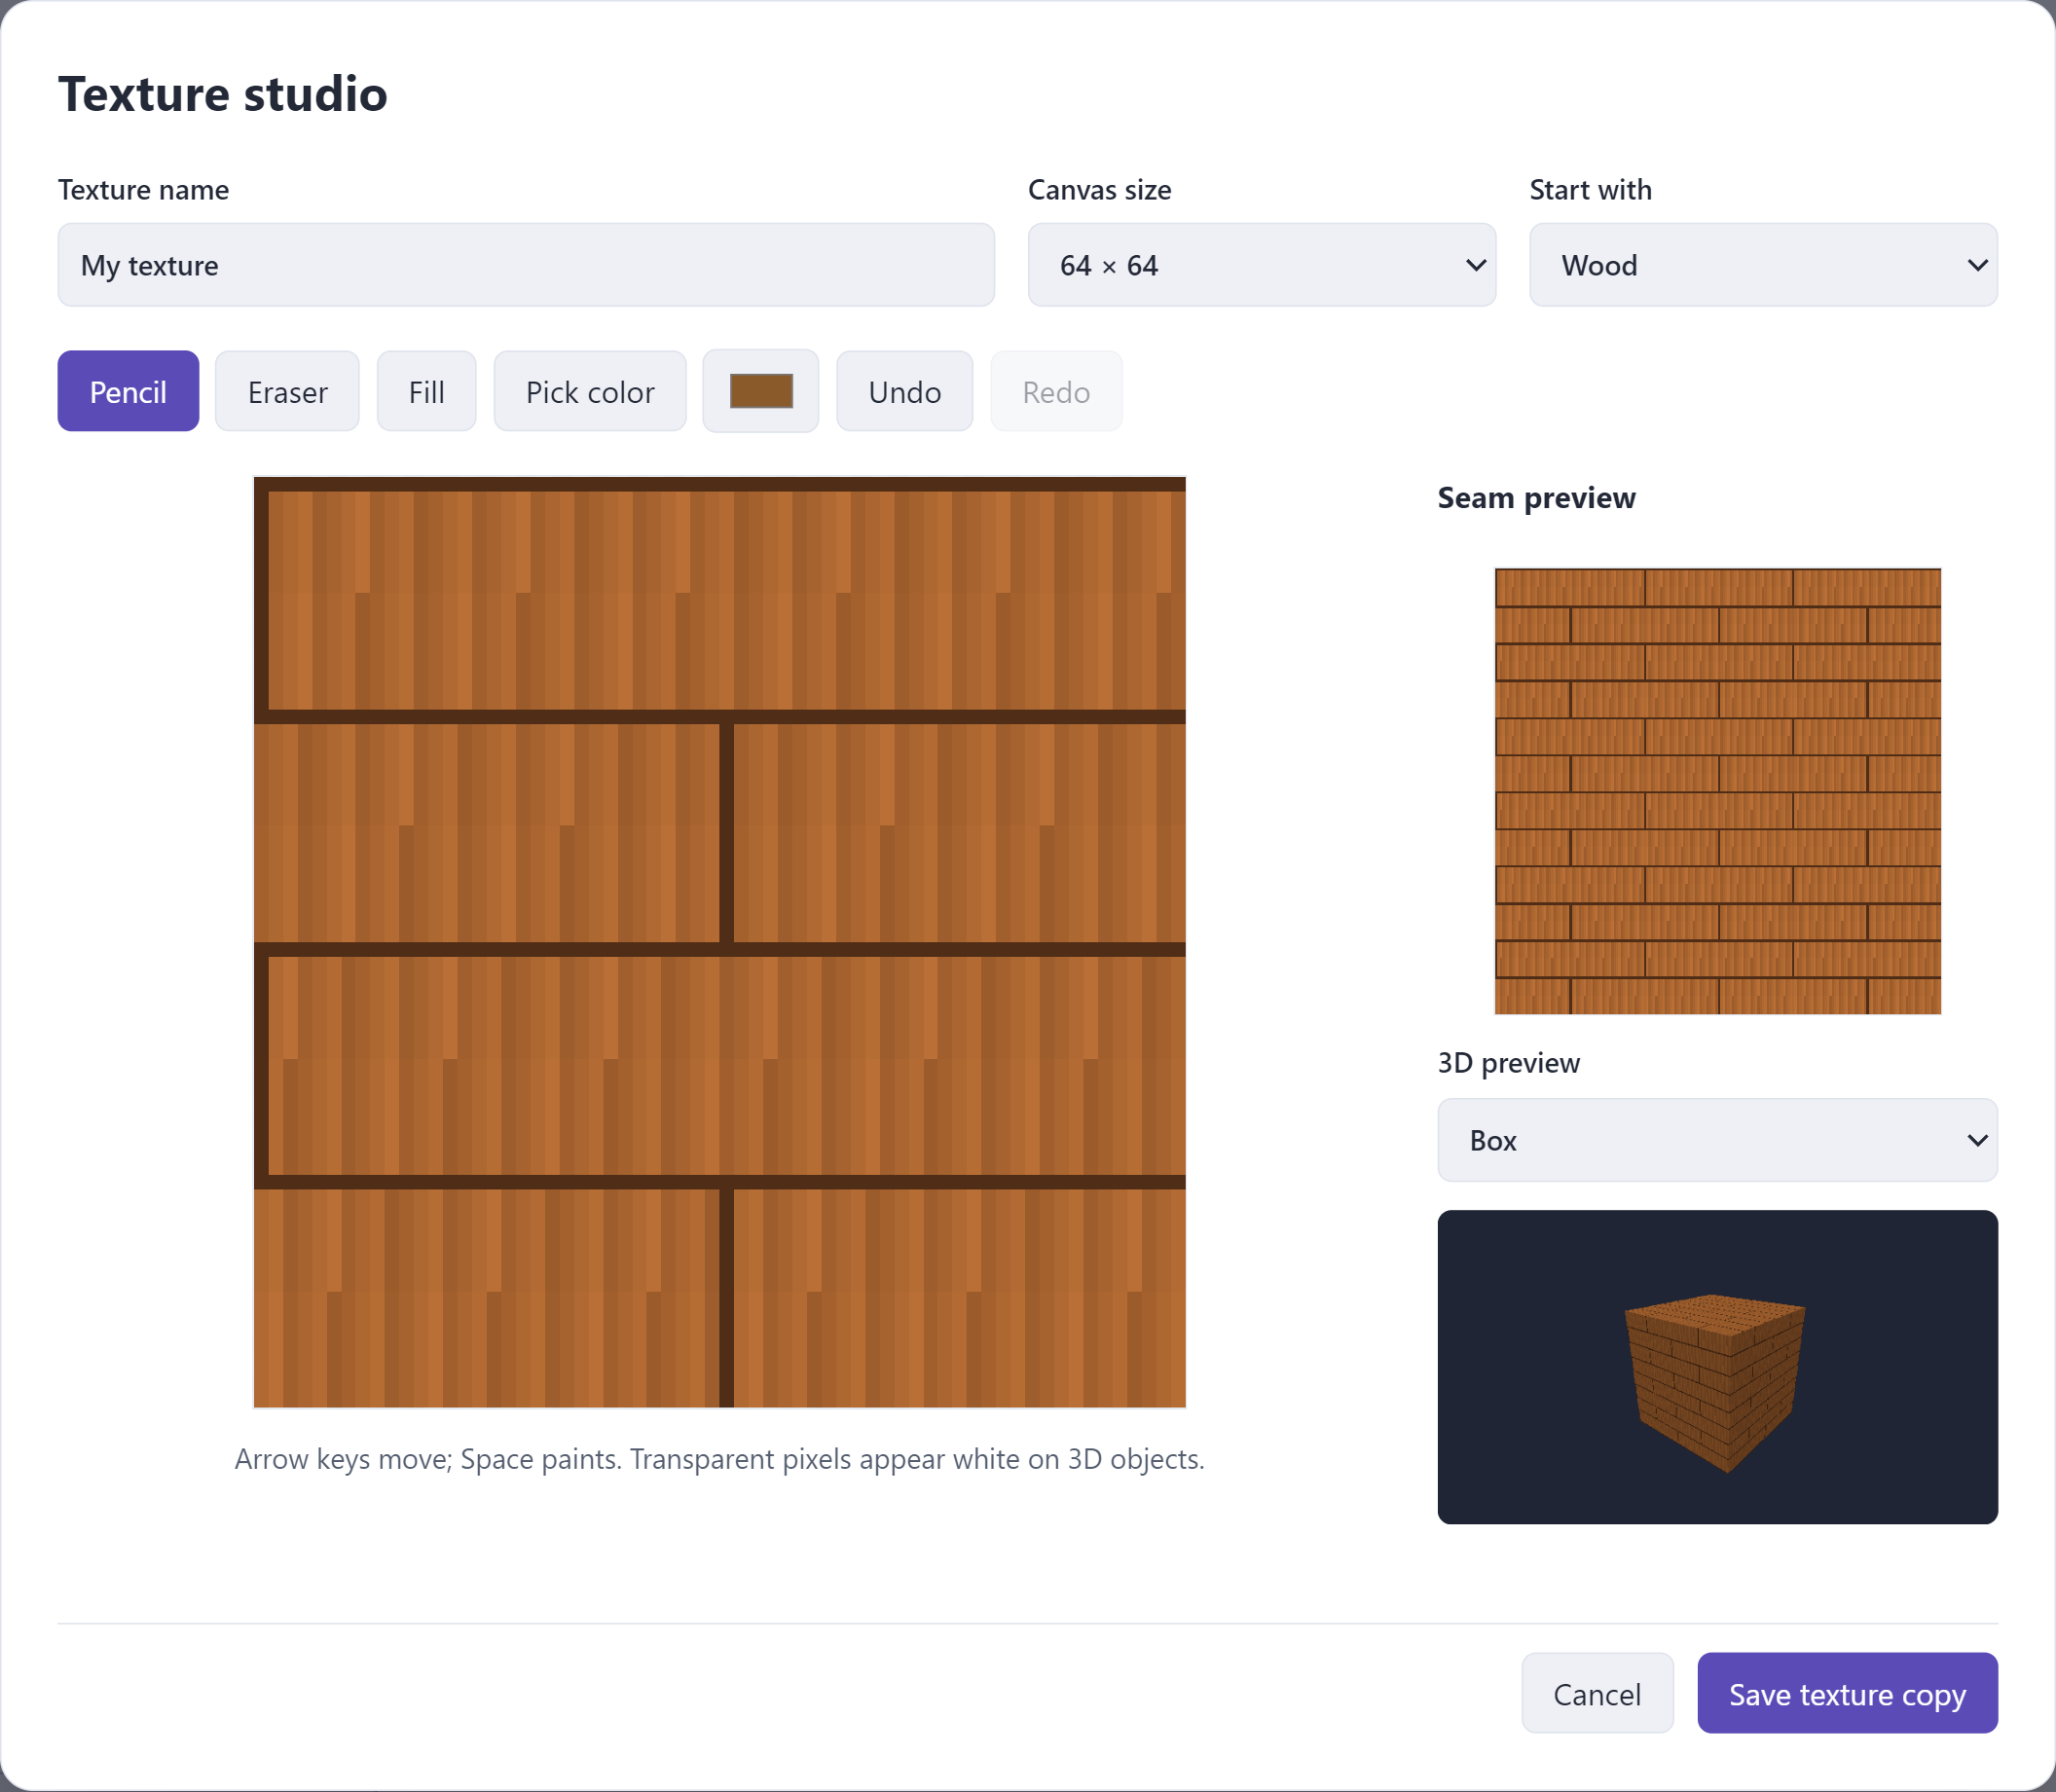
.bipliproject and choose Media → New texture. - Name it, choose a 32, 64, 128 or 256 pixel square canvas, and optionally start with a material.
- Use Pencil, Eraser, Fill and Pick color. Undo/Redo lets you revise your drawing.
- Check the repeated 3 × 3 tile preview for visible seams and the box, sphere or cylinder preview for the result on a real object.
- Save the texture copy, then use its exact project path, for example
texture3D("crate", "assets/my-wood.png", 2).
Editing an imported image creates a copy; it does not overwrite the original. Larger artwork is resized explicitly for the editing copy. Runtime texture PNGs may be up to 1024 × 1024 pixels and 4 MiB encoded. Animated PNG is not supported. Paths are case-sensitive project assets, not internet URLs or arbitrary files.
Wood, stone, grass, sand, tile, metal and imported pictures use their own colors with lighting. none, checker and brick use the object’s color. Transparent image pixels appear over white; they do not cut holes in the object. Call draw3D() after changing textures, then draw your 2D HUD and sprites over the frame.