# Make your own 3D textures
[Programming guides](README.md)
A texture is a picture or pattern wrapped around a 3D object. Built-in textures and the Texture studio are included in Learner.
```pliro
# language: en
clear3D("#18273d")
box3D("crate", 2, 2, 2)
texture3D("crate", "wood", 1)
turn3D("crate", 25)
camera3D(3, 2, 5)
lookAt3D(0, 0, 0)
draw3D()
```
Choose `none`, `checker`, `brick`, `wood`, `stone`, `grass`, `sand`, `tile` or `metal`. These names stay the same in Dutch source. The scale is repetitions per local world unit, greater than 0 and at most 32. A larger number makes the pattern repeat more often.
## Paint a tile
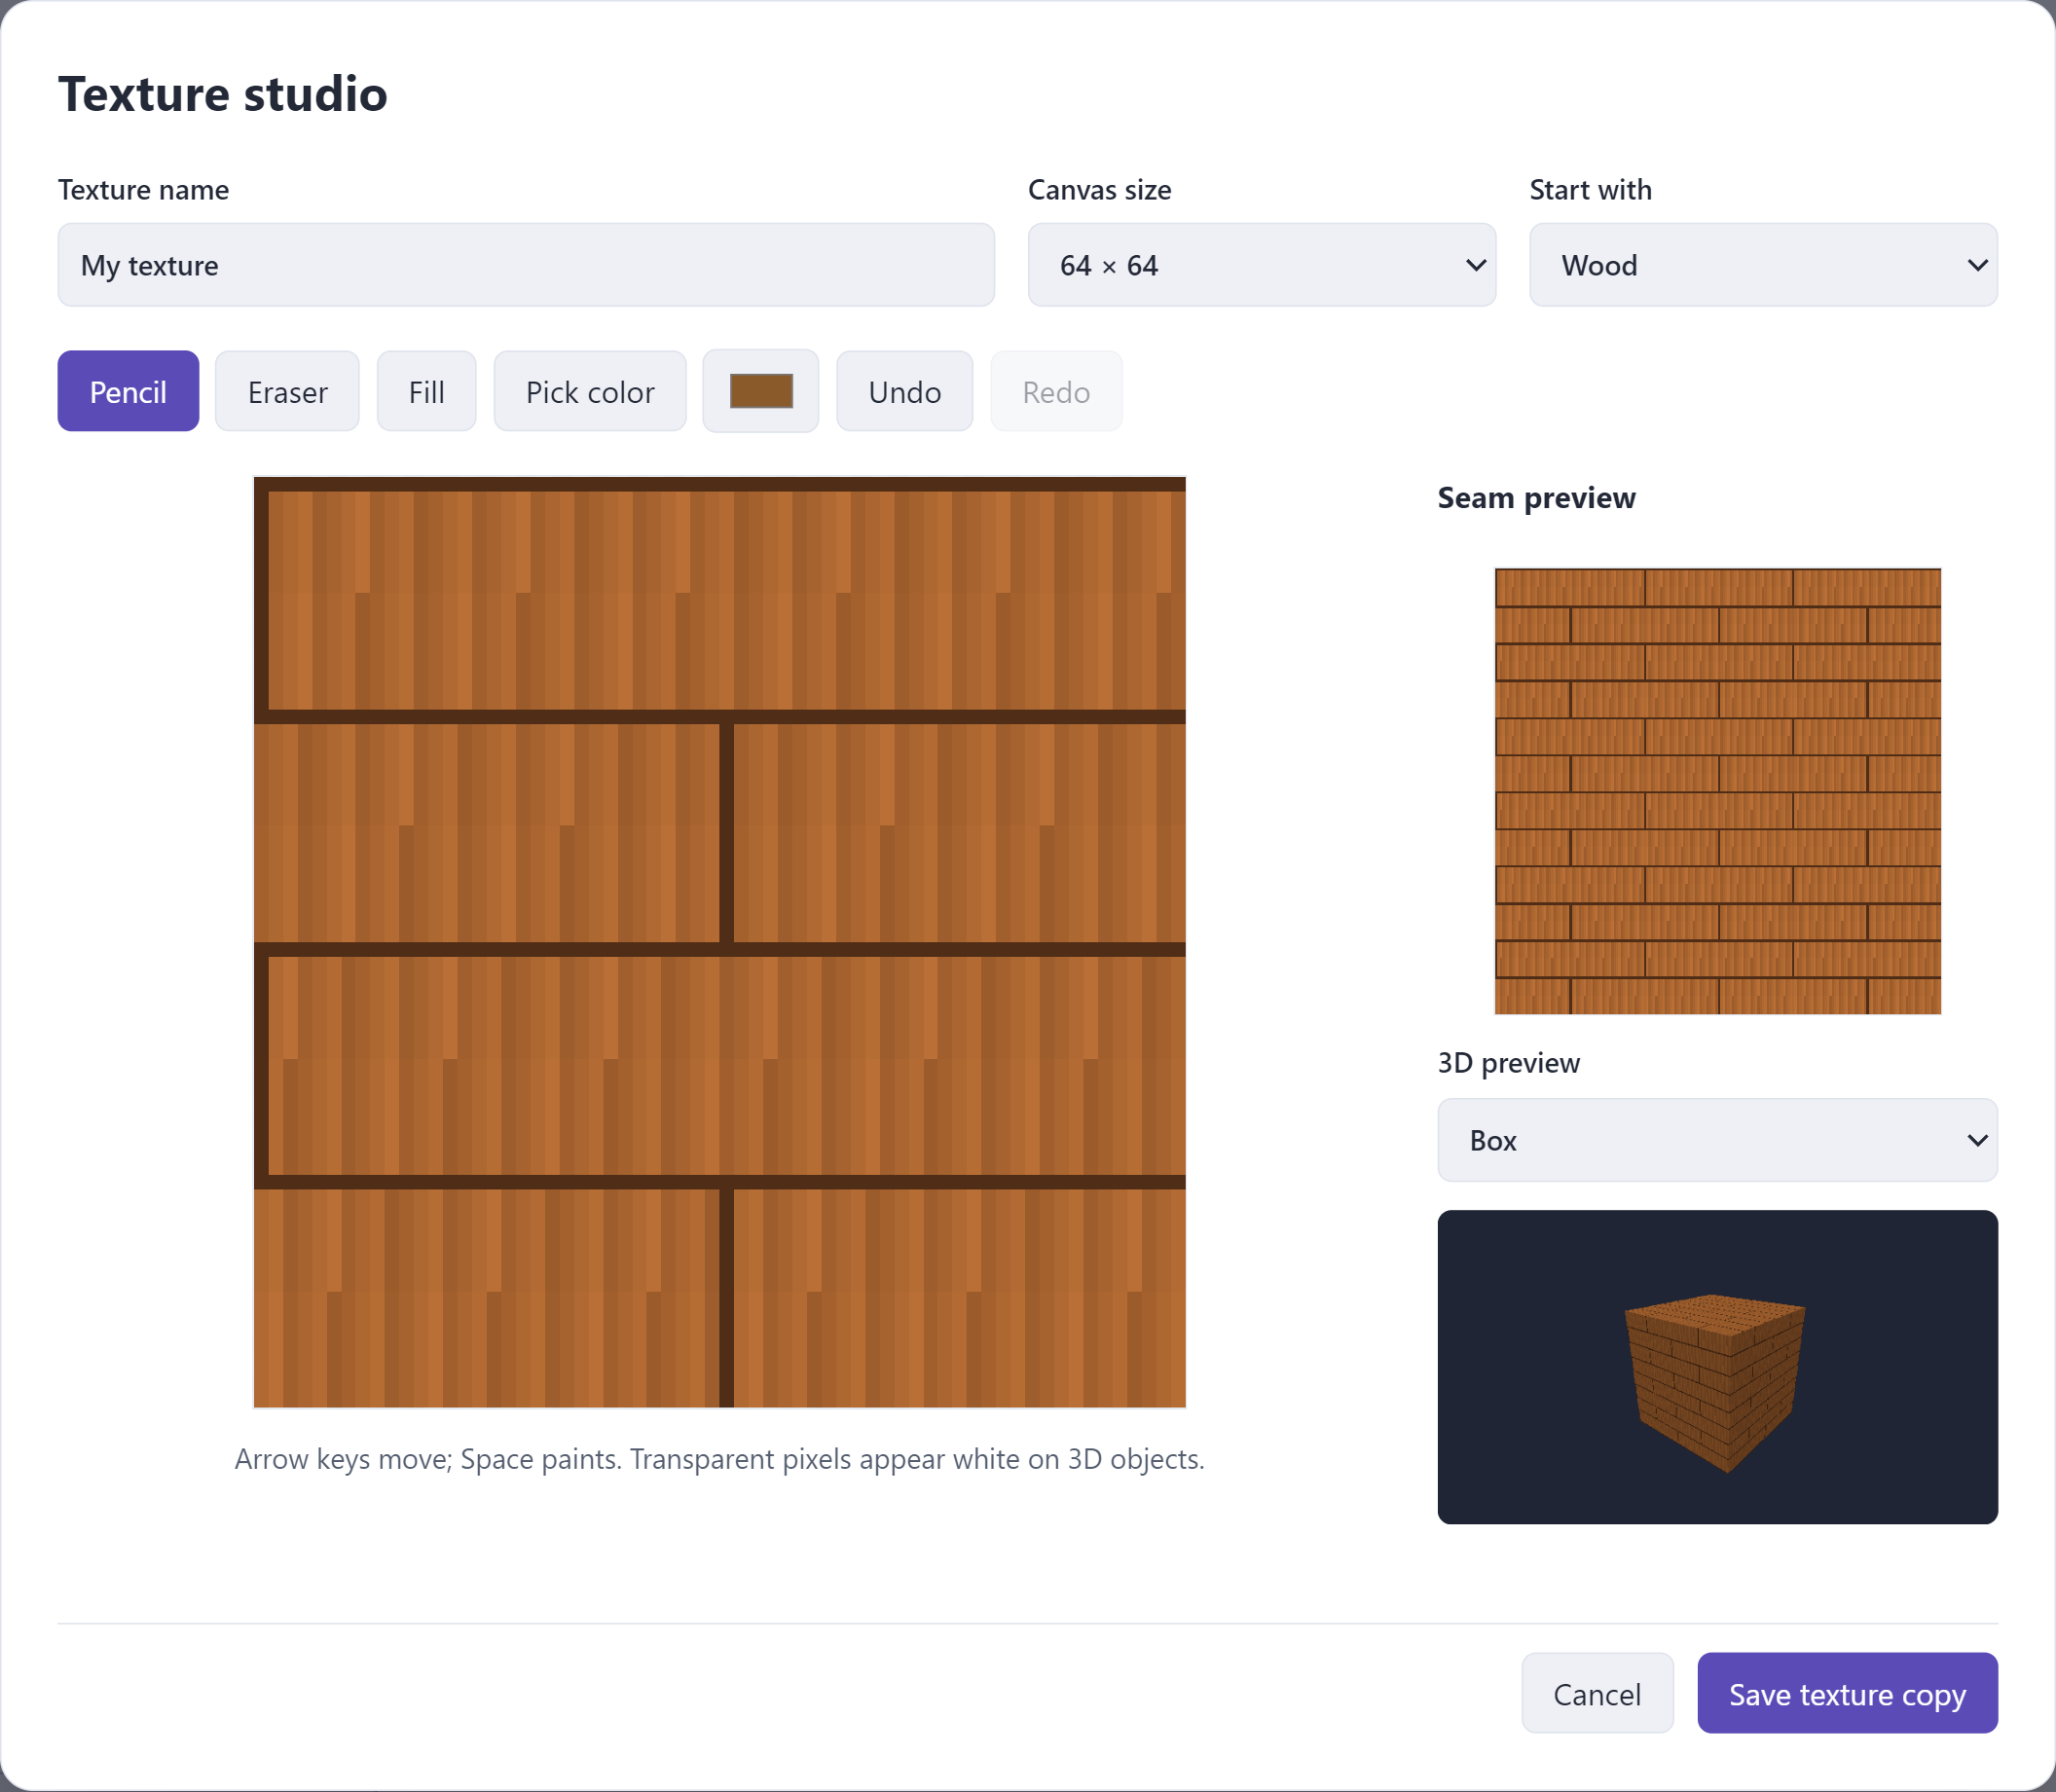
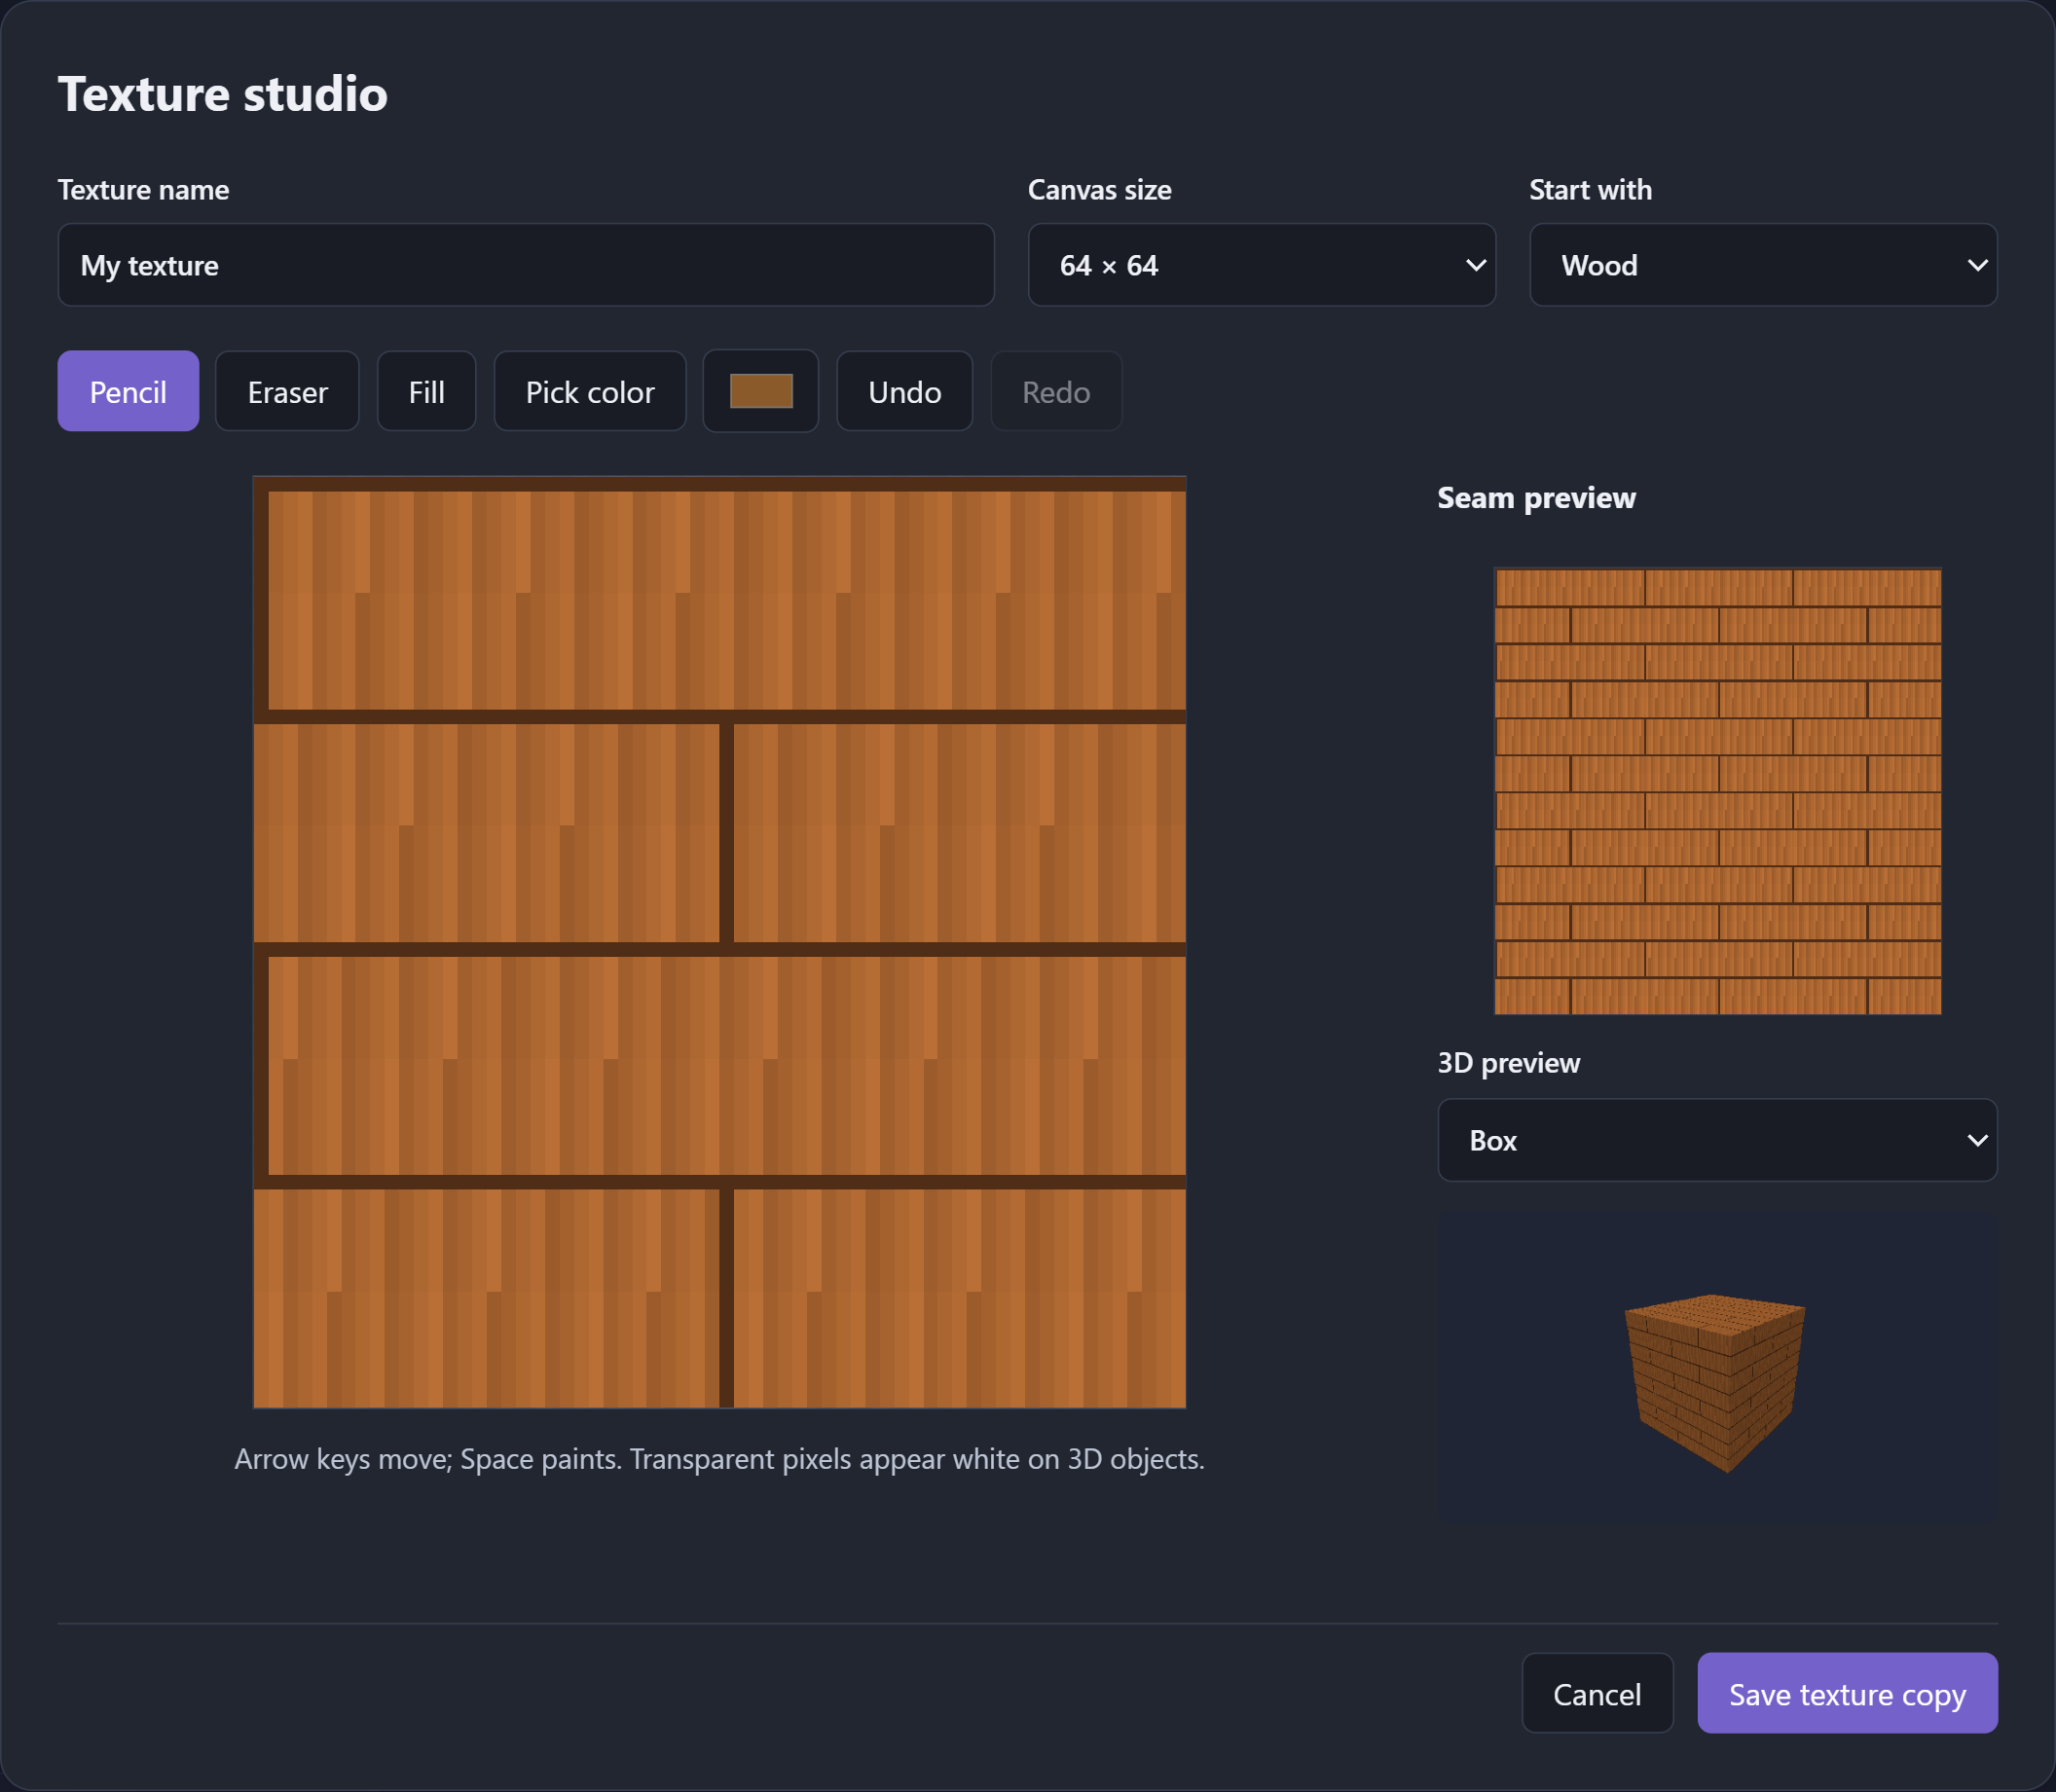
1. Open a `.bipli` project and choose **Media → New texture**.
2. Name it, choose a 32, 64, 128 or 256 pixel square canvas, and optionally start with a material.
3. Use Pencil, Eraser, Fill and Pick color. Undo/Redo lets you revise your drawing.
4. Check the repeated 3 × 3 tile preview for visible seams and the box, sphere or cylinder preview for the result on a real object.
5. Save the texture copy, then use its exact project path, for example `texture3D("crate", "assets/my-wood.png", 2)`.
Editing an imported image creates a copy; it does not overwrite the original. Larger artwork is resized explicitly for the editing copy. Runtime texture PNGs may be up to 1024 × 1024 pixels and 4 MiB encoded. Animated PNG is not supported. Paths are case-sensitive project assets, not internet URLs or arbitrary files.
Wood, stone, grass, sand, tile, metal and imported pictures use their own colors with lighting. `none`, `checker` and `brick` use the object's color. Transparent image pixels appear over white; they do not cut holes in the object. Call `draw3D()` after changing textures, then draw your 2D HUD and sprites over the frame.
[3D worlds](scene3d.md) · [texture3D](../builtins/texture3D.md) · [Project media](assets.md)