# Project display settings
[Programming guides](README.md)
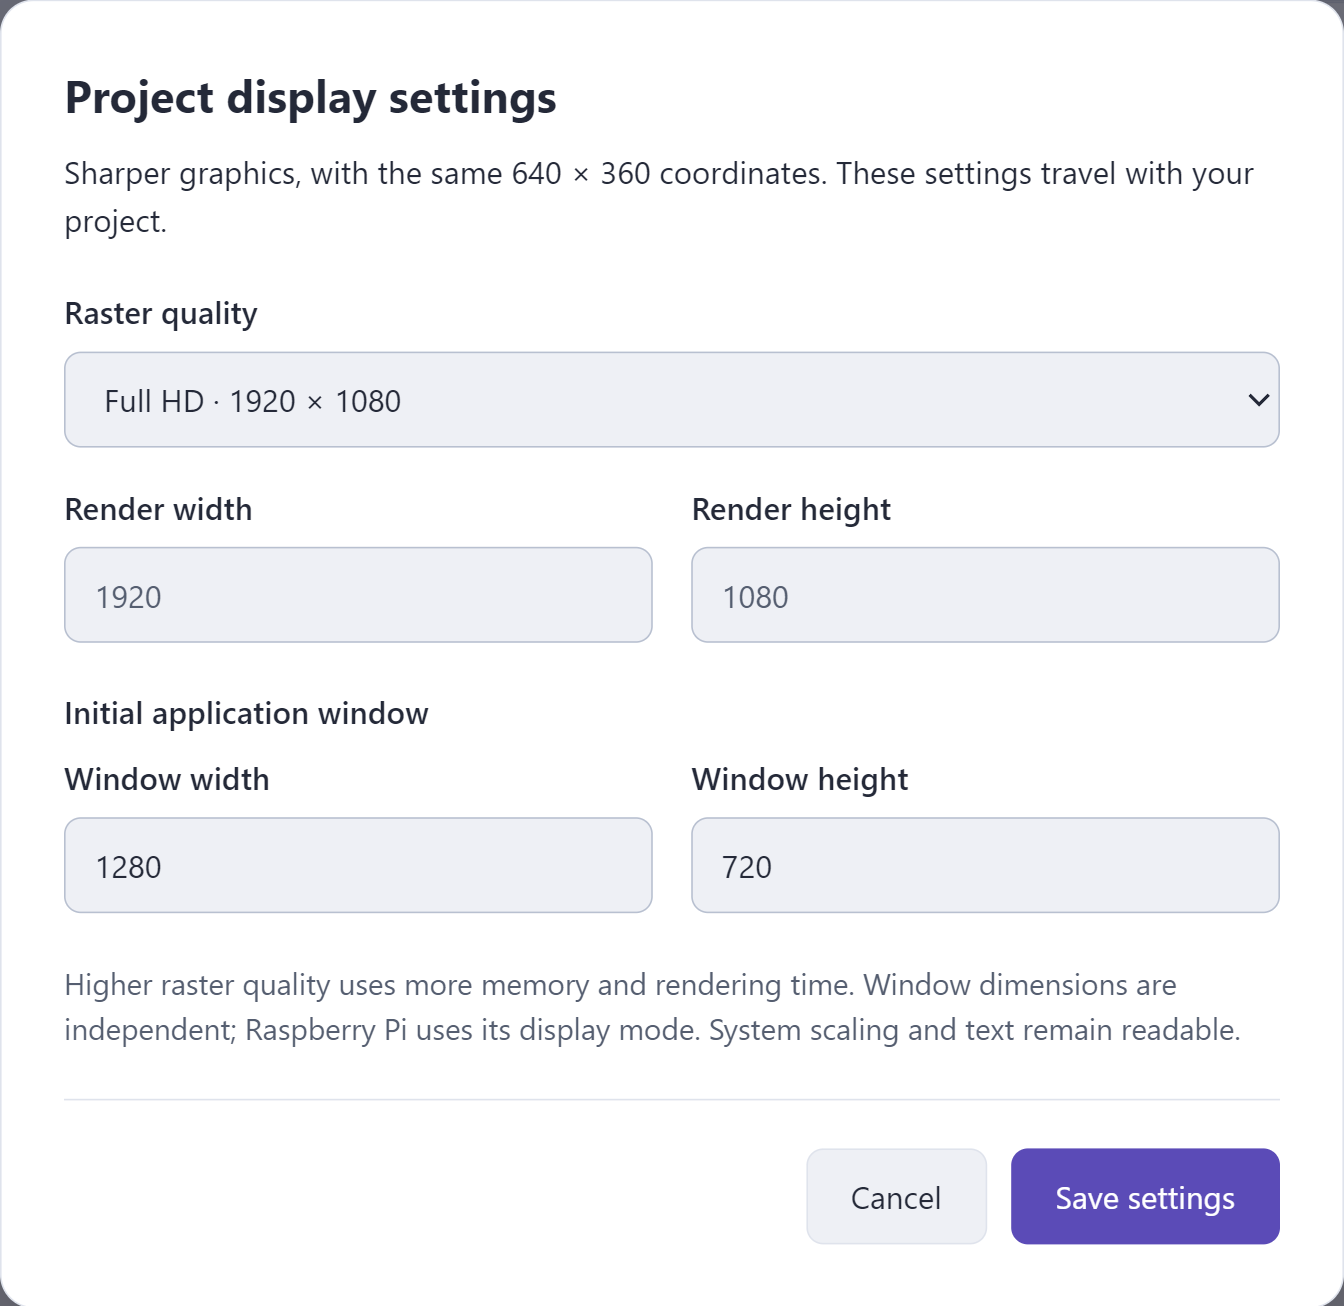
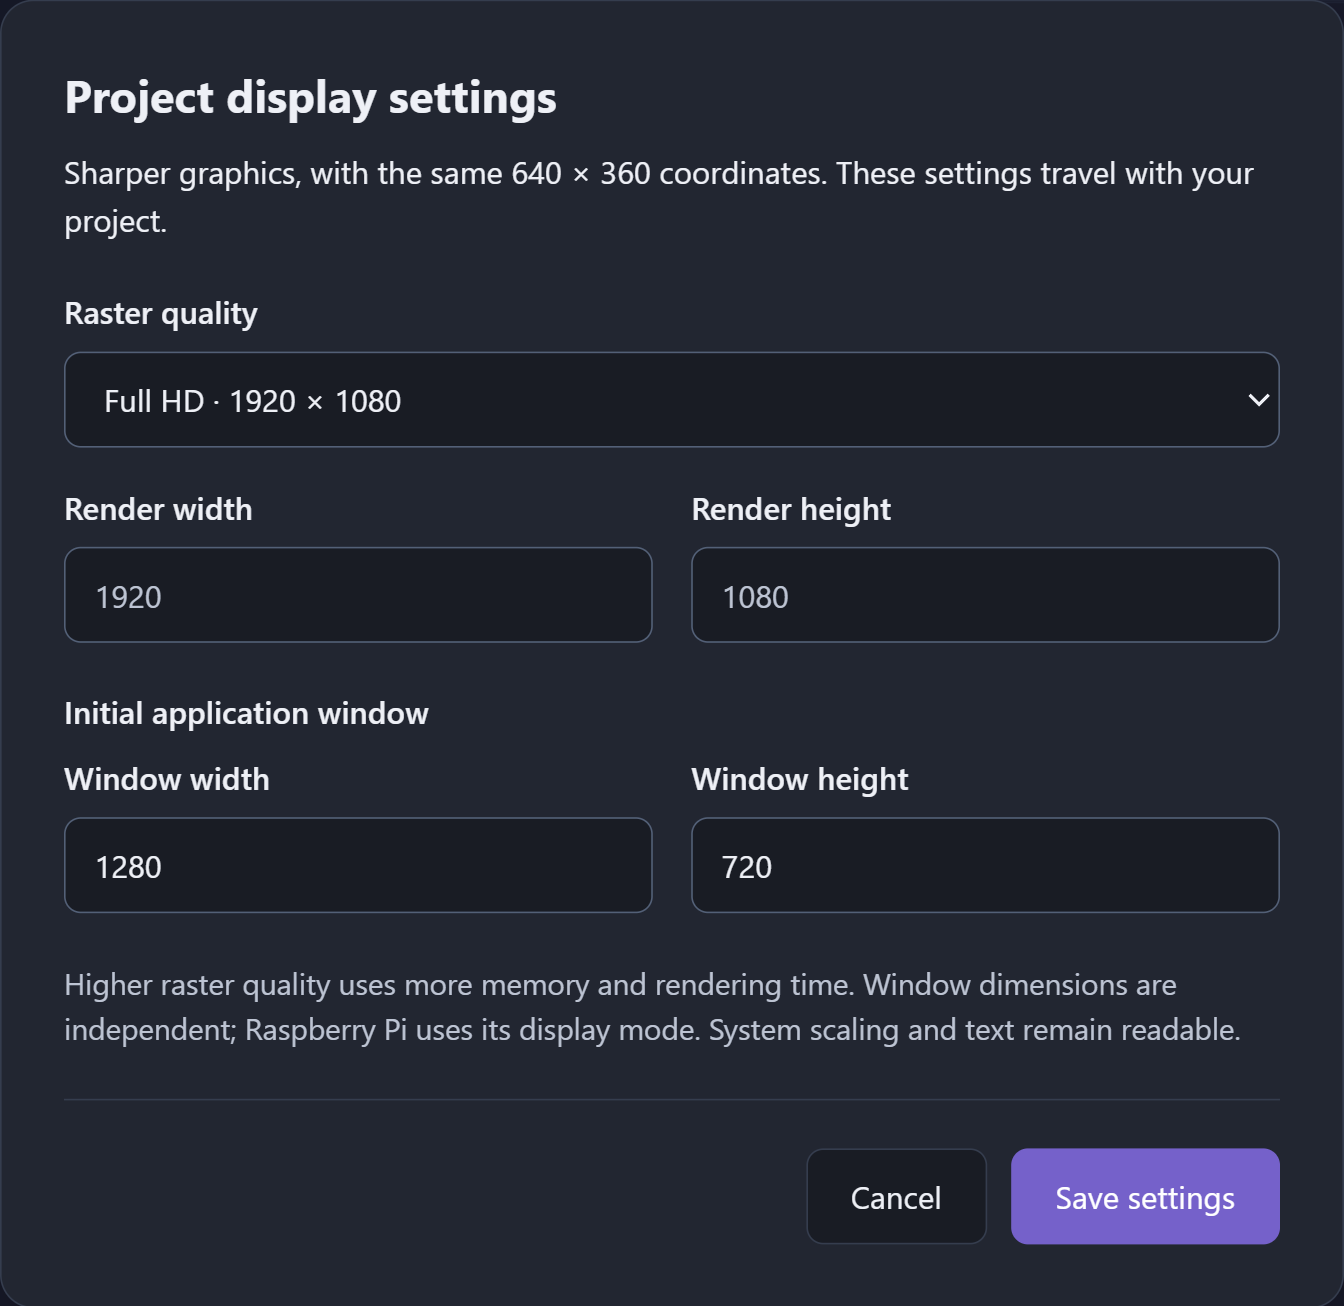
Open a saved `.bipli` project and choose **File → Project display settings**. Choose the drawing resolution and the initial native window size, then save. These settings travel with the project.
| Preset | Rendered pixels | Edition |
|---|---|---|
| Standard | 640 × 360 | Learner and Pro |
| Sharp | 1280 × 720 | Learner and Pro |
| Full HD | 1920 × 1080 | Learner and Pro |
| Custom | Intermediate 16:9 sizes up to 1920 × 1080 | Pro tools, including an entitled trial |
Custom widths run from 640 to 1920 in steps of 16, with the matching exact 16:9 height. All editions share the same technical maximum. A higher resolution uses more rendering work, especially with native software 3D, so test performance on the intended device.
## Coordinates are not pixels
Your program still uses a **640 × 360 logical canvas**. The center remains `(320, 180)` at every preset. Drawing, sprites, pointer positions and collision coordinates do not need to be multiplied. Higher rendering resolution adds picture detail; it does not make a larger game world.
Window size controls the initial native window separately, from 320–7680 wide and 240–4320 high. It does not change the rendering preset. System DPI scaling remains the operating system's job. This dialog does not set fullscreen or an arbitrary aspect ratio. Direct-display Raspberry Pi hosts use their selected display mode.
A loose source file uses defaults; save it as a project to keep display settings. Custom settings can still be opened, edited and saved without Pro. Choose a shared preset to run/build that project under Learner.
[Building applications](build.md) · [3D worlds](scene3d.md)